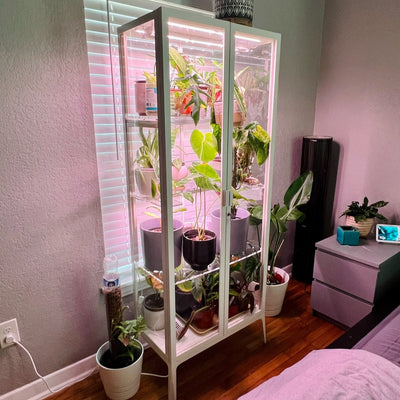


In the world of indoor gardening and plant care, the use of innovative tools and techniques can make a significant difference in the growth and vitality of your green companions. One such tool that has gained popularity among plant enthusiasts is the sphagnum moss pole. A versatile and eco-friendly option, sphagnum moss poles provide essential support for climbing plants while promoting healthy growth. In this article, we'll delve into the benefits of using a sphagnum moss pole and provide you with a step-by-step guide on how to use one effectively.
The Benefits of Sphagnum Moss Poles: Sphagnum moss poles have gained recognition for their numerous advantages in plant care:
-
Natural Support: Sphagnum moss poles offer a natural means of support for climbing plants. Unlike artificial stakes or trellises, these poles closely mimic the plants' natural habitat, allowing them to attach their aerial roots to the moist moss, just as they would in their native environment.
-
Moisture Retention: The moss used in these poles has exceptional water retention properties. This helps maintain a consistently moist environment for plants, especially those that thrive in high humidity.
-
Nutrient Absorption: Sphagnum moss contains trace nutrients that can benefit your plants as they grow. As water flows through the moss, it carries these nutrients, providing an extra boost to your plant's health.
-
Aesthetic Appeal: Beyond their functional benefits, sphagnum moss poles add a touch of natural elegance to your indoor space. The natural appearance of the moss complements the aesthetics of your climbing plants.
Step-by-Step Guide to Using a Sphagnum Moss Pole: Here's how you can effectively utilize a sphagnum moss pole to provide optimal support and growth for your climbing plants:
Materials Needed:
- Sphagnum moss pole wrap
- Sphagnum moss
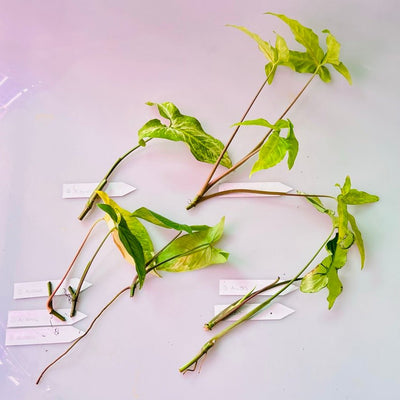
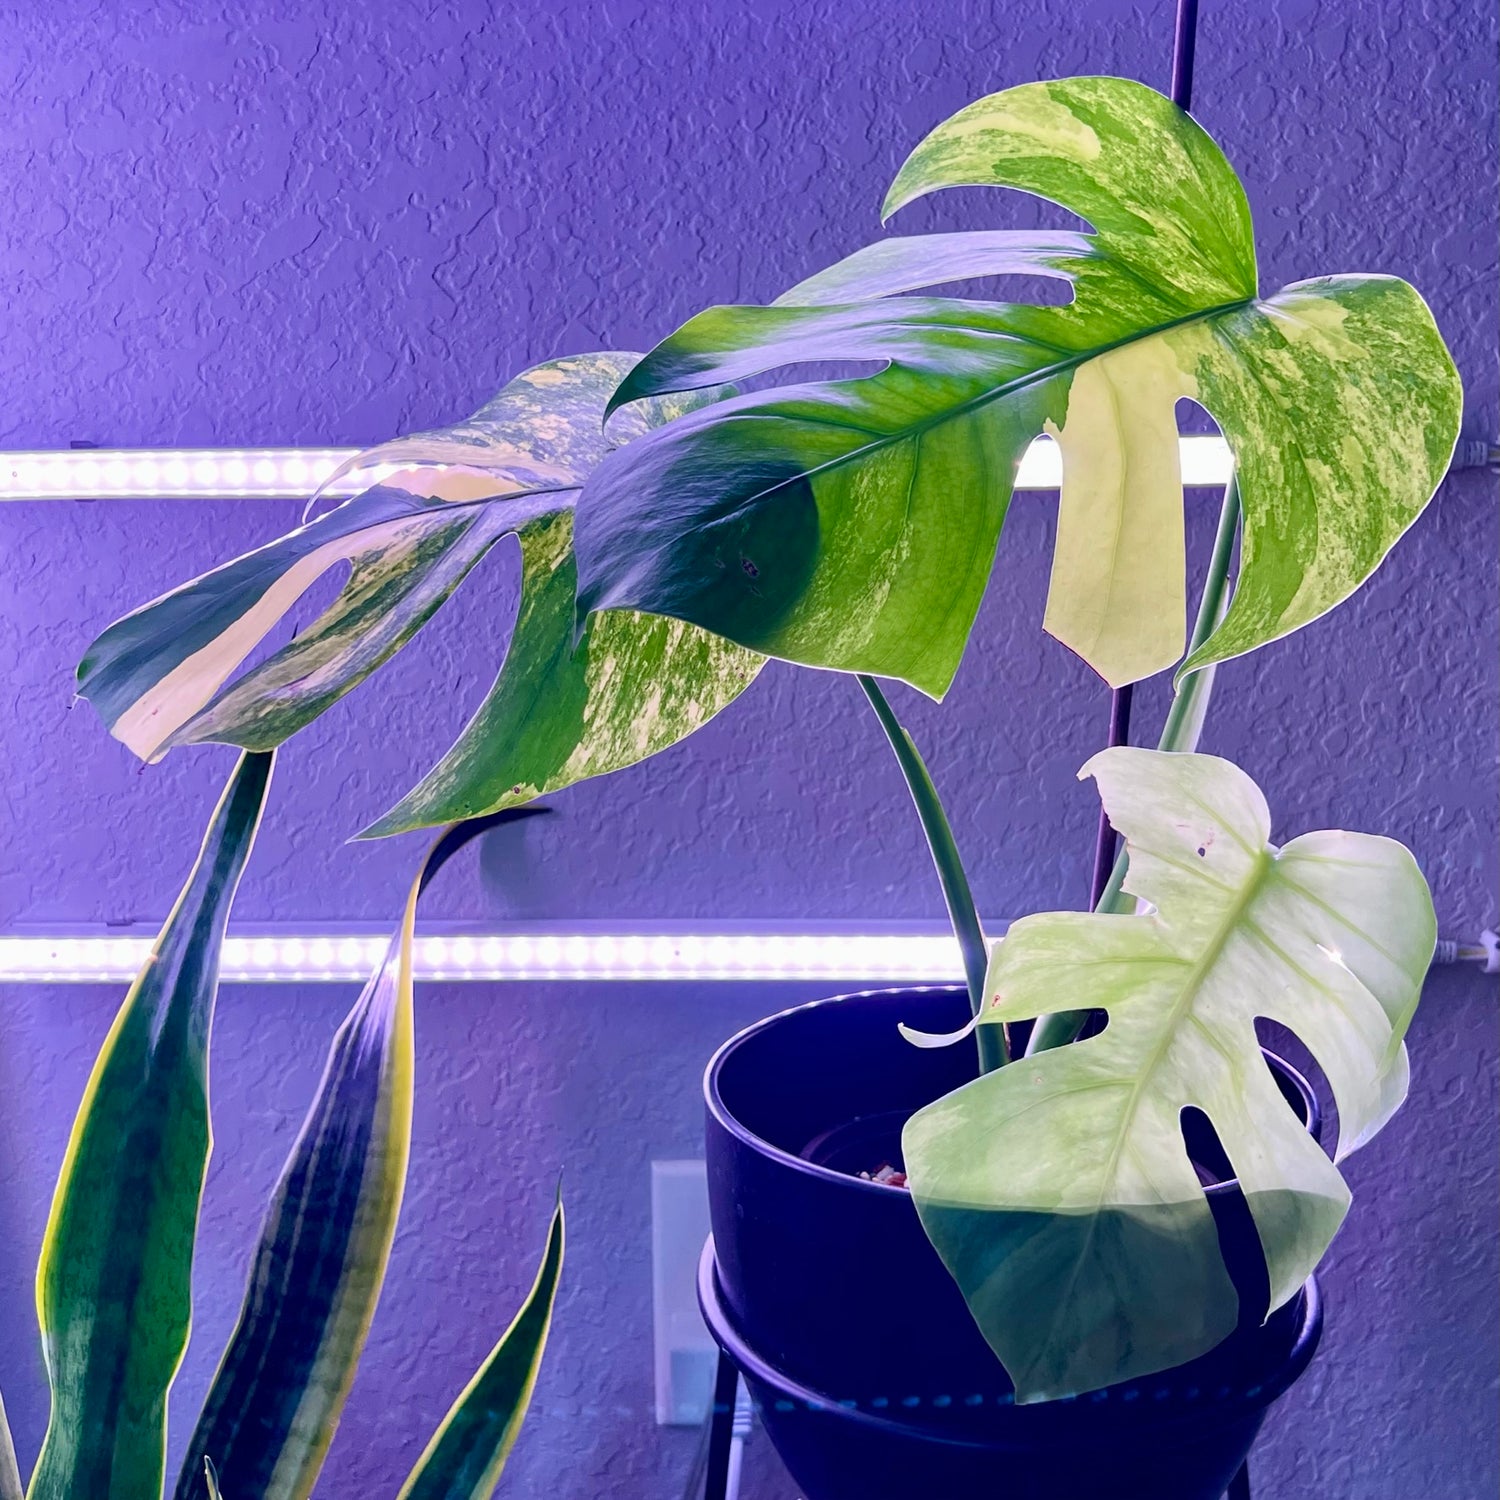
- Climbing plant (such as Monstera deliciosa, Pothos varieties, and certain Philodendron species)
- Twine or plant ties
- Water spray bottle
- Scissors
Instructions:
-
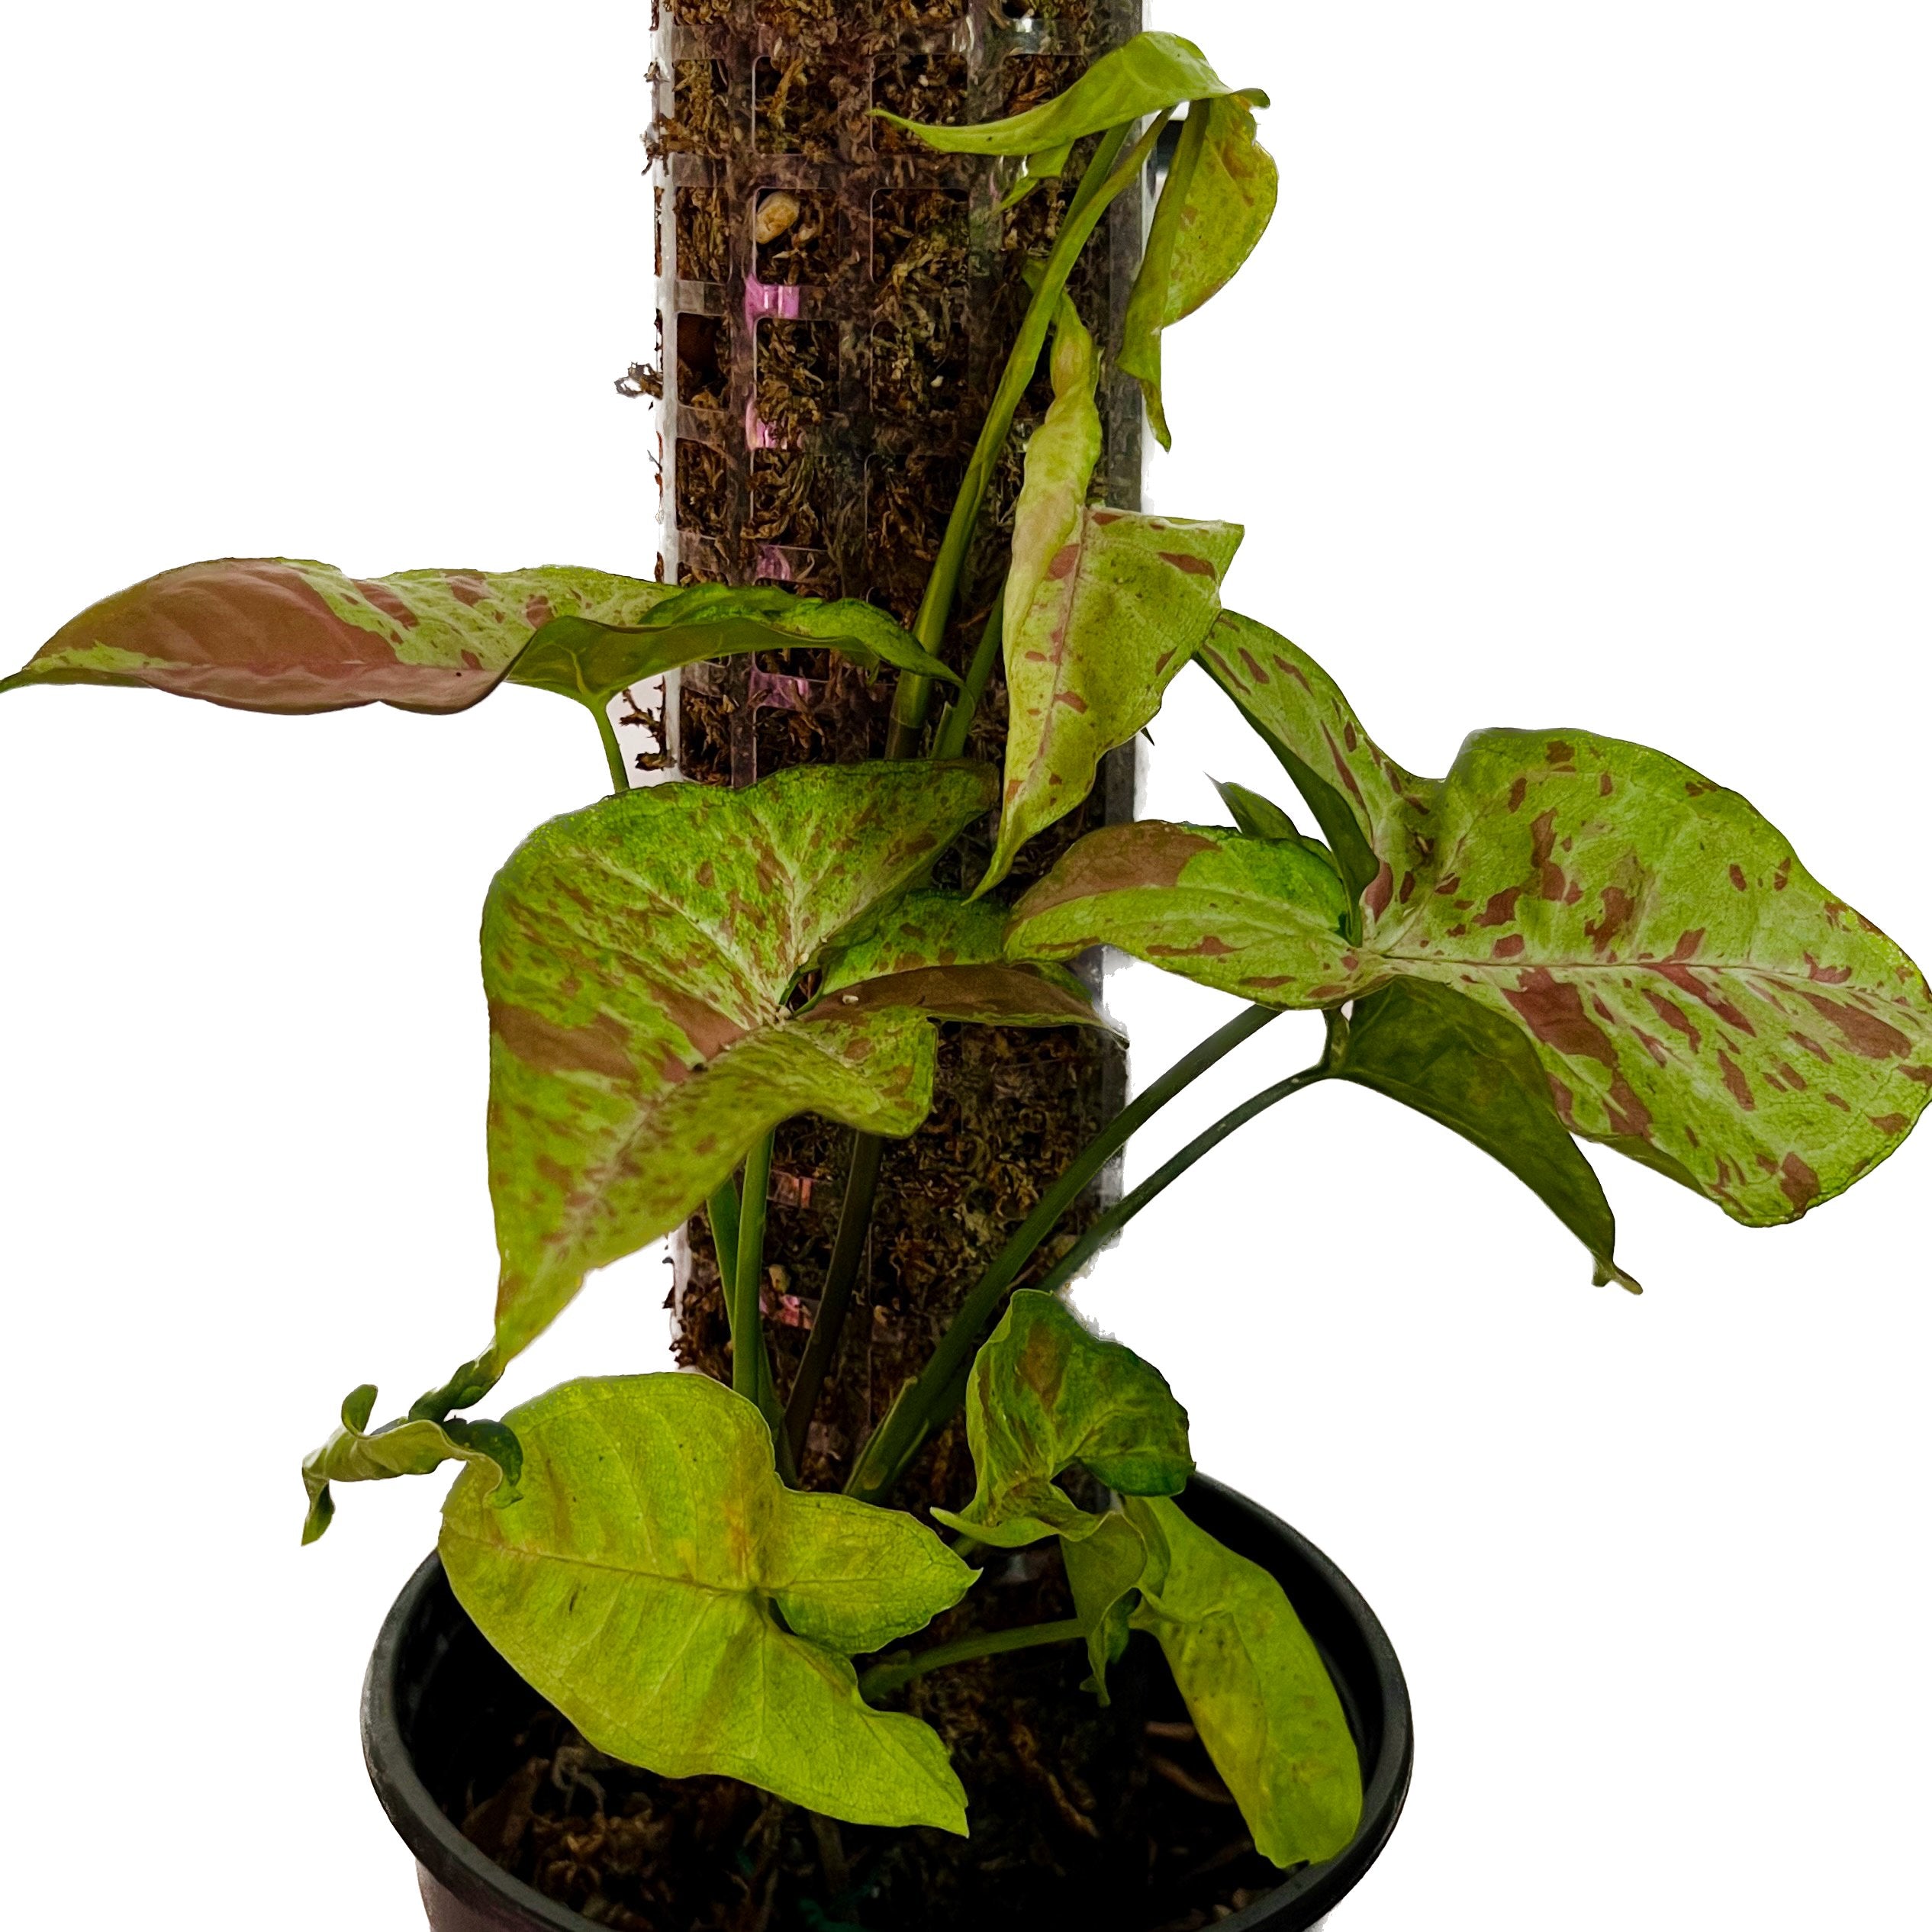
Choose the Right Plant: Select a climbing plant that naturally grows aerial roots, as these will attach to the moss pole. Common choices include Monsteras, Epipremnum and Pothos, or most Philodendrons. Because the pole and the roots will share space I usually like to start with smaller plants, 2" or 4" pot size.
-
Dampen the Moss: Sphagnum should be slightly damp. If you squeeze it and water comes out it has too much liquid, ring it out or leave it exposed to air for a few days to dry.
-
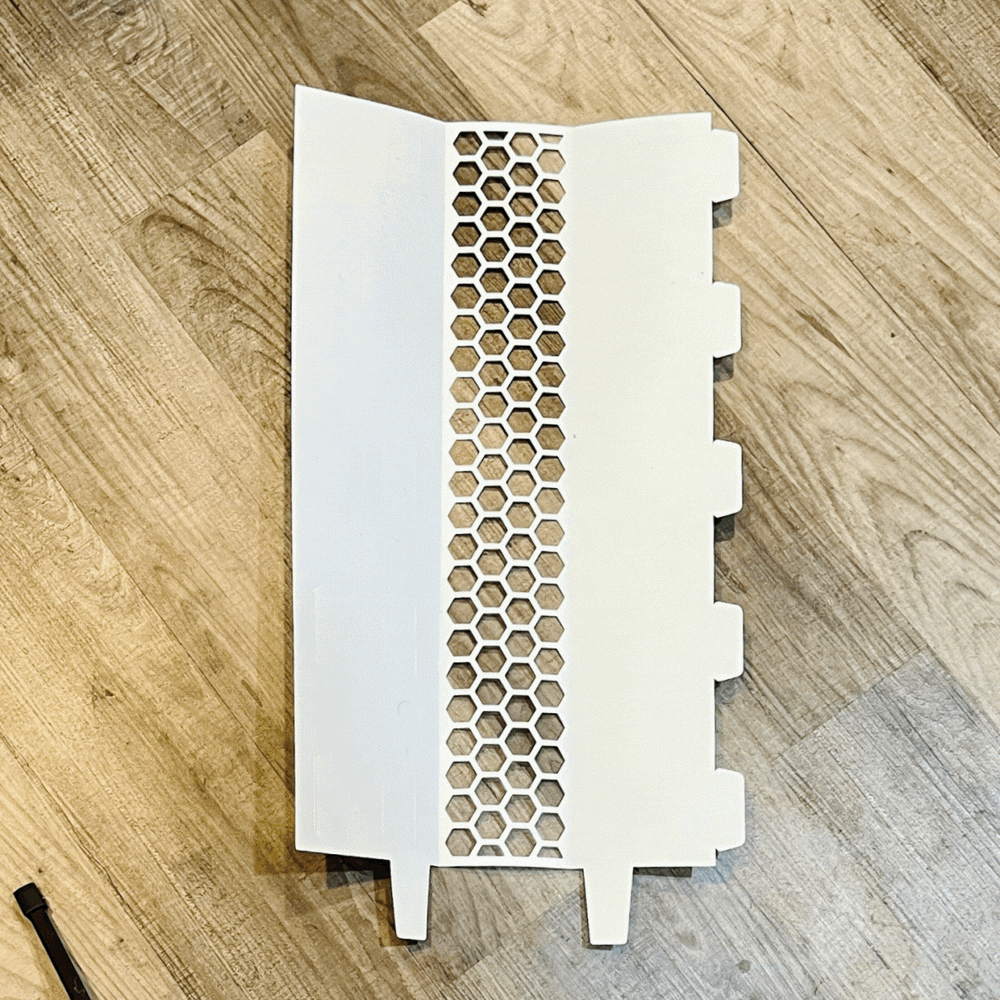
Construct the Pole Wrap: You can construct your own using tin snips and PVC coated hardware mesh from the hardware store and wire ties. We're partial to laser cut wraps offered in our store, these retain water better, stack easily, and can be put together in a few seconds.
-
Fill the Top of the Pole with Moss: Make sure to leave about six inches of room at the bottom (this will contain potting mix and anchor the pole inside the pot).
-
Secure the Plant: Using twine or a plant ties, anchor the plant to the pole such that its root ball is aligned with the empty area at the bottom. Gently guide the plant's existing aerial roots towards and into the pole if possible. As the plant grows, new roots will emerge and naturally attach to the moss. Use twine or plant ties to secure any stems or vines that need guidance.
-
Fill the Bottom of the Pole with Potting Medium: Usually I do this sideways over a dirt bucket - because the potting media likes to fall out.
-
Position the Pole: Still sideways, place the sphagnum moss pole in the plant's pot (I'm partial to gallon sized pots here). Gently turn the pot upright and fill with potting mix. Ensure the root ball is buried securely in the soil.
-
Misting and Watering the Moss: I usually refill empty water bottles and let them rest upside down inside the moss every few days to keep it moist. Misting the sphagnum moss with a spray bottle will also help it to maintain its moisture. This will create an environment conducive to root growth and overall plant health. Note that moss becomes hydrophobic (water repellent) when dried out, try to keep it damp at all times. If it dries out completely saturate carefully to restore its ability to hold water.
-
Monitor and Adjust: As your plant grows, keep an eye on its progress. Guide new arial roots towards the moss pole and adjust any ties that may become too tight. Once the plants roots have anchored into the pole the ties can be removed.
The plant's natural inclination to climb will take care of the rest. Plants can either be allowed to grow straight upwards or trained around the pole. Once the plant nears the top you can add an additional pole if you would like it to grow taller. -
Routine Maintenance: Every few months, check the condition of the sphagnum moss. If it starts to break down or becomes compacted, you can refresh it by gently adding new moss around the pole's surface.
Conclusion: Incorporating a sphagnum moss pole into your plant care routine can lead to thriving, lush indoor climbers that not only enhance your living space but also provide an opportunity for you to connect with the beauty of nature. By following this step-by-step guide and embracing the benefits of this natural support system, you'll be well on your way to nurturing healthy and vibrant climbing plants that will bring joy for years to come.