


Monsteras are beautiful houseplants that can be propagated via node cuttings. Heres the manner in which I clone my Monsteras via cutting, and one which I recommend when people ask me how to root them.

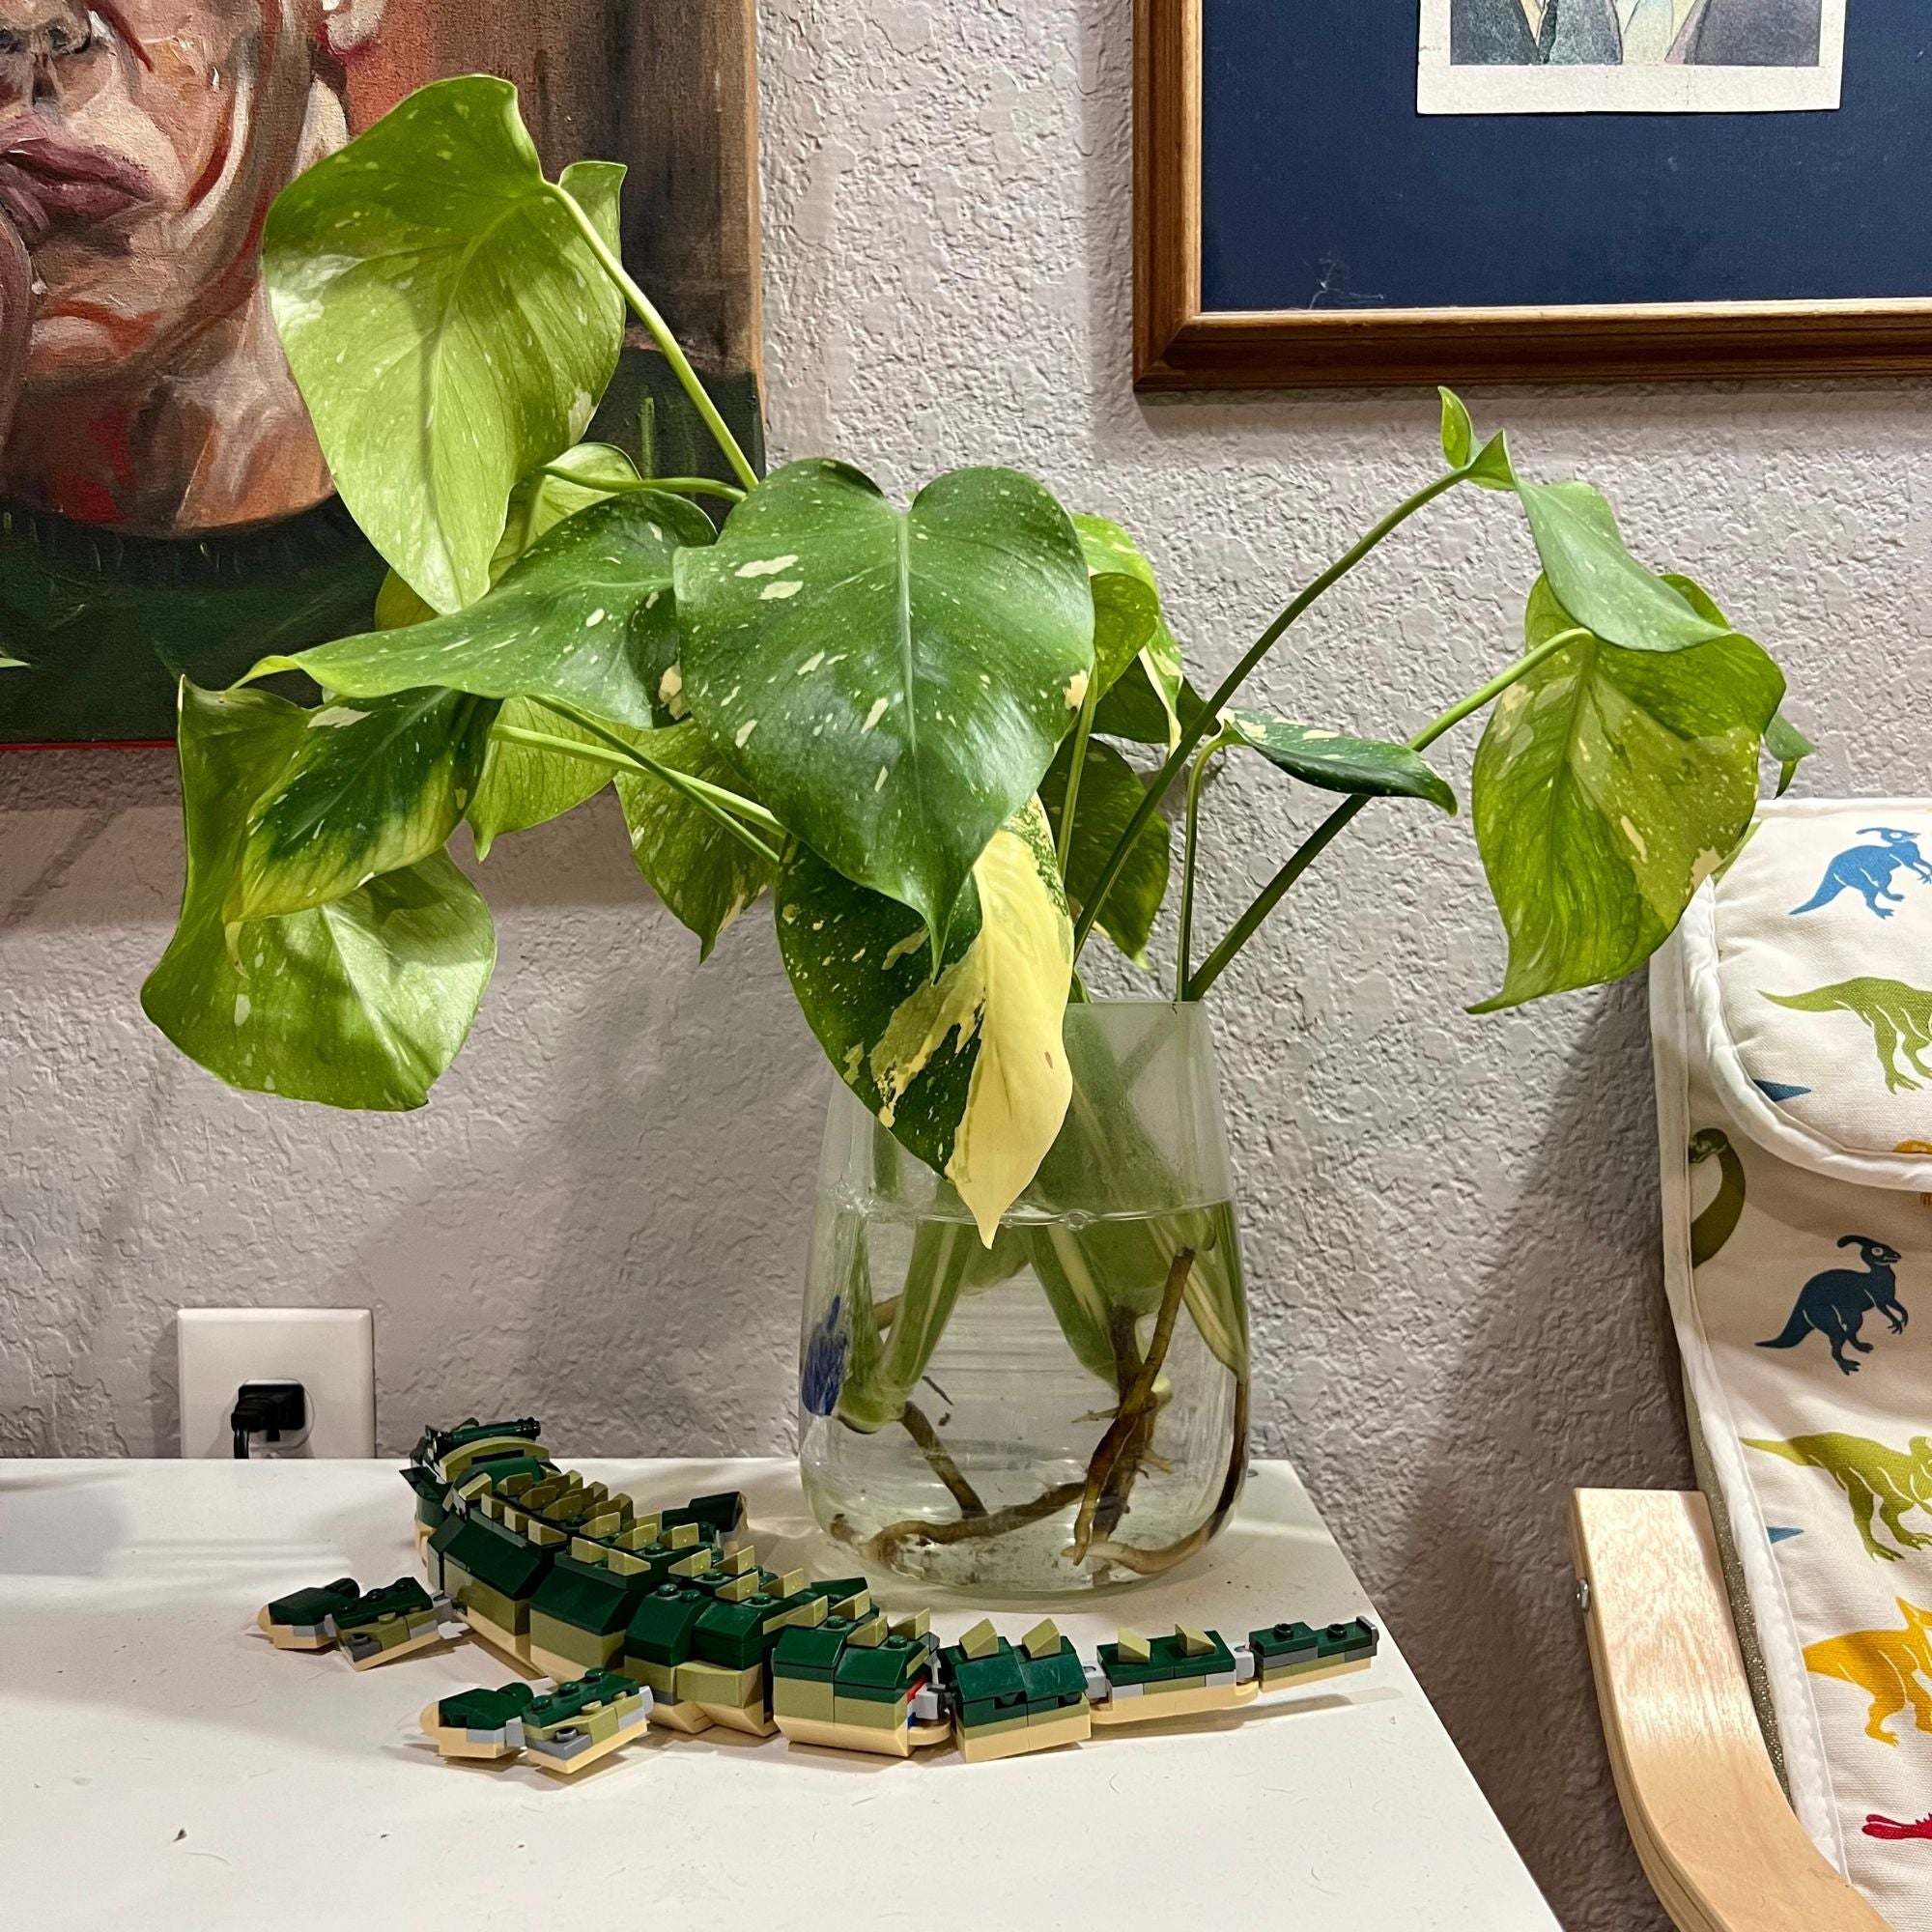
This albo, with well developed aerial roots is a great candidate for a chop and prop. As a bonus shes better variegated with her most recent growth, cutting her is likely to result in stronger variegation for some of the nodes.
Choose a Healthy Parent Plant
Choose a parent plant that is healthy and free from any pests or diseases. Propagation works best when the stem has developed aerial roots, ideally you want these as well. Most monsteras have singular growth patterns, they only put out new nodes when chopped. If you are taking a cutting from a big plant the resulting growth will look unsightly. For this reason I tend to sacrifice most of the plant into nodes and grow each out into its own plant.
Develop Roots Before Propagation
You can gently guide aerial roots into a glass of water, or air-layer with moss in order to coax your mother to grow into more robust roots. I usually skip this step as most monsteras root quite well, but it certainly wont hurt to root prior to cutting.

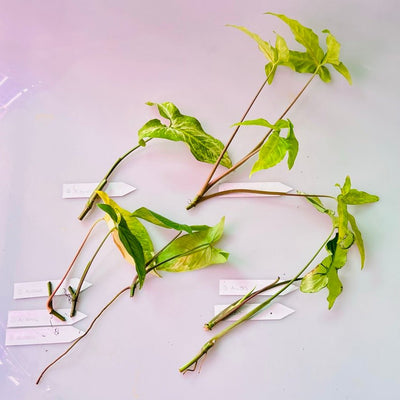
Monsteras grow from node segments, each midcut should have one node and ideally one leaf and one aerial root as well
Chop Her Up
This is the hardest step, but you can do it! Use a clean, sharp pair of scissors or pruning shears to cut the stem. You want your cuts to be about halfway between nodes (a node is where the leaf joins the stem). Take care at the base and top of the plant. At the base, you want to make sure to leave at least one unspent node attached to the existing root system. At the top make sure you leave a node, this one is insurance, sometimes the existing growth fails on a top cut and it activates its node.
Dry the Stems
Allow the stems to callous for 8-24 hours.
Choose Your Own Adventure Time

Thai Constellation top cuts rooting in water help class up Nash's nook.
Root in Water
Place the cutting in a vase filled with water. An air bubbler will speed things along, as will bright light. Root until secondary roots develop (usually 3-6 weeks). This is my preferred method for healthy nodes: as its fast, easy to see new roots growing, pretty forgiving, and generally looks classy compared to the alternatives.
Root in Perlite
Place the cutting in a vase filled with a few inches of perlite, pour 1/2" more perlite over the top. Add water until you have about an inch pooled at the bottom. Root until secondary roots develop (again about 3-6 weeks). This is my preferred method for nodes with some degree of rot. You can also try exotic mixes such as including sphagnum moss or fluval stratum with the perlite.
Root in Moss
Wrap the cutting damp sphagnum moss, place the resulting bundle in a nursery pot and place the pot in a high humidity environment such as a prop box. Keep the prop box in a location that receives bright, indirect light. Open for about an hour a day in order to allow airflow. Give the moss a small amount of water as needed to maintain a slight dampness. A heating mat for seeds under the box will speed things up a bit here, but this method can take anywhere from weeks to months. I try to avoid rooting in this manner excepting for very finicky plants - because in medieval times removing roots from moss was an advanced method of torture [citation needed].
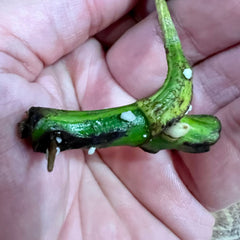

This...is rot. These nodes are still viable (the bottom one is rooted pretty well) and likely to make it :).
Dealing with Rot
- Are you sure its rot?
Normal stems generally have black ends when calloused over. Rotted areas usually are also back, but have black mushy bits and an off smell. - Recut the Stem
If you have a lot of room on the node, it can be a good idea to remove the rotted area by cutting it off. I find that its rare that I have enough space to do this. - OR - Use Diluted Hydrogen Peroxide
Give the stem a short bath in hydrogen peroxide in order to kill off the microorganisms causing the rot. - Move to perlite or moss
Rot tends to progress in water, in perlite or moss it moves more slowly. You can often root the plant and activate a growth point even for partially rotted nodes. Check plants rooting in water every few days in order to catch rot early, and move them to perlite.
Transplant
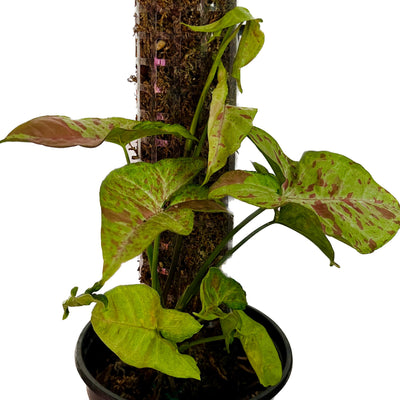
Once roots are well developed, you can transplant the new monstera plant(s) into a pot with aroid potting mix, or some other inferior soil.
Congratulations! You have successfully propagated your Monstera.